Like installing any other WordPress plugin, follow the usual process to install Propovoice. Go to your WordPress dashboard → Plugins > Add New.
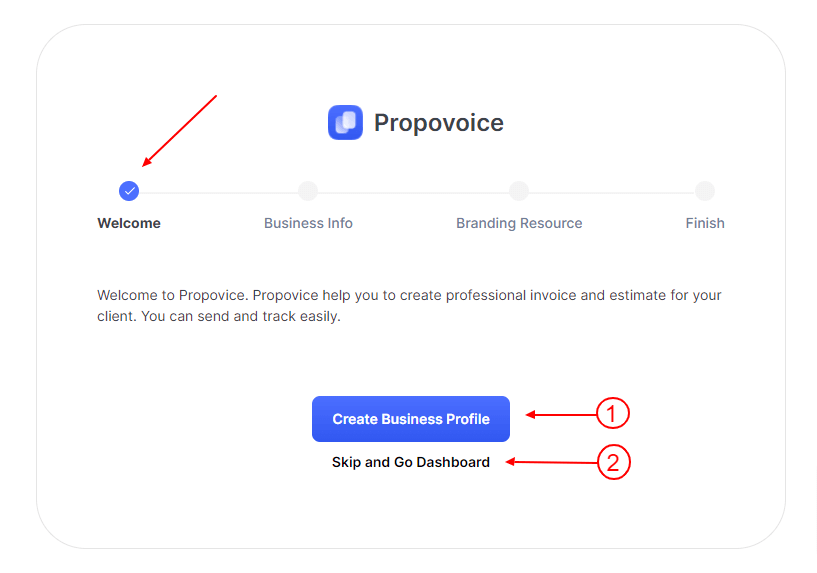
When you install and activate Propovoice, it will move to the Setup Wizard and display the Welcome Tab
- Click on Create Business Profile to add your Business profile
- If you have already completed the setup wizard step, click on Skip & Go Dashboard

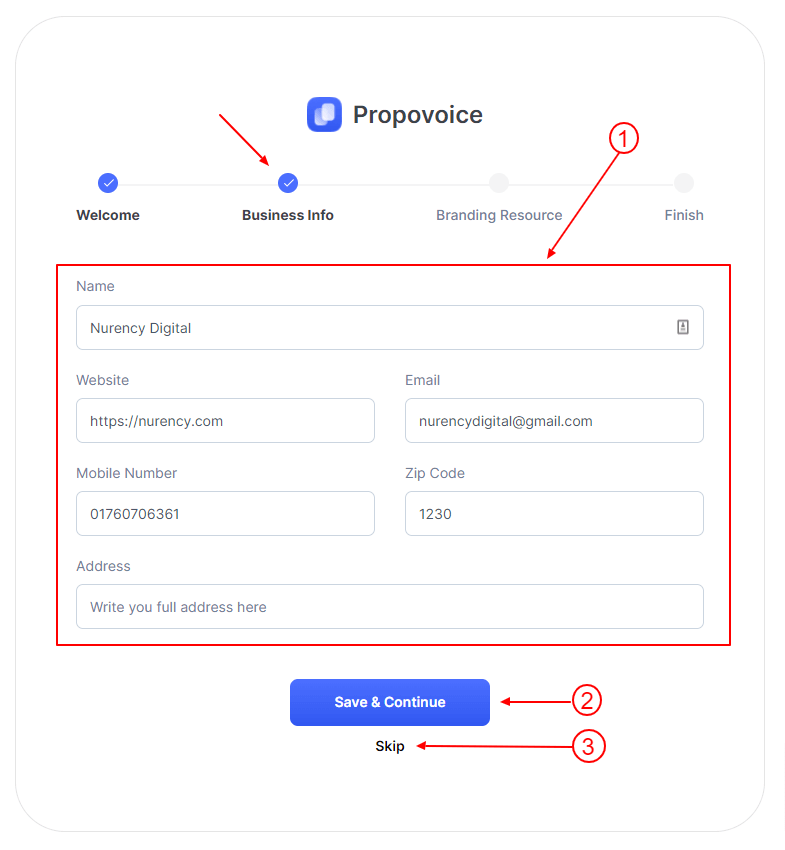
Then it will move to the Business Info tab
- Add your business information here.
- Then click on the Save & Continue button to go next step.
- If you want to Skip Business Info tab. Then click on the Skip button.

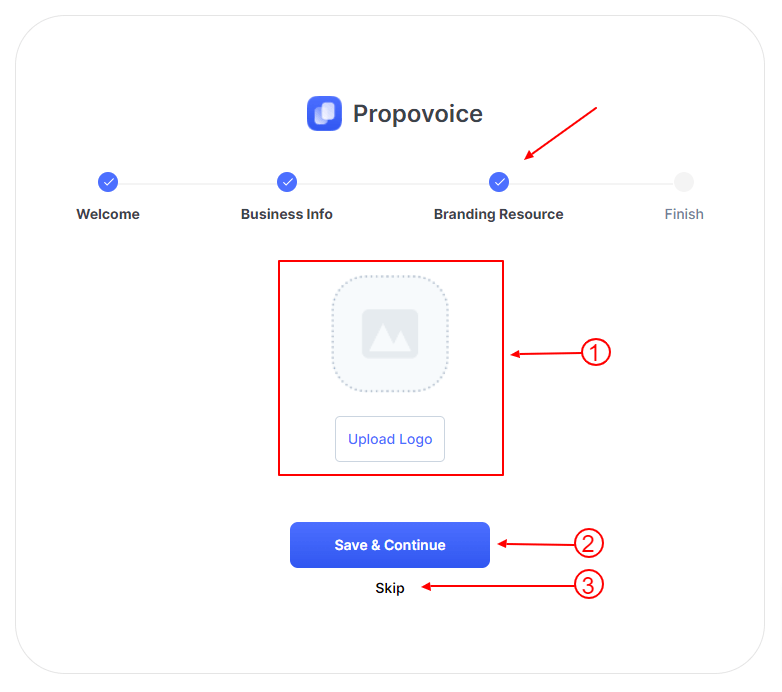
Then it will move to the Branding Resource tab.
- Add your business logo here.
- Then click on the Save & Continue button to go next step.
- If you want to Skip Business Resource Info tab. Then click on the Skip button.

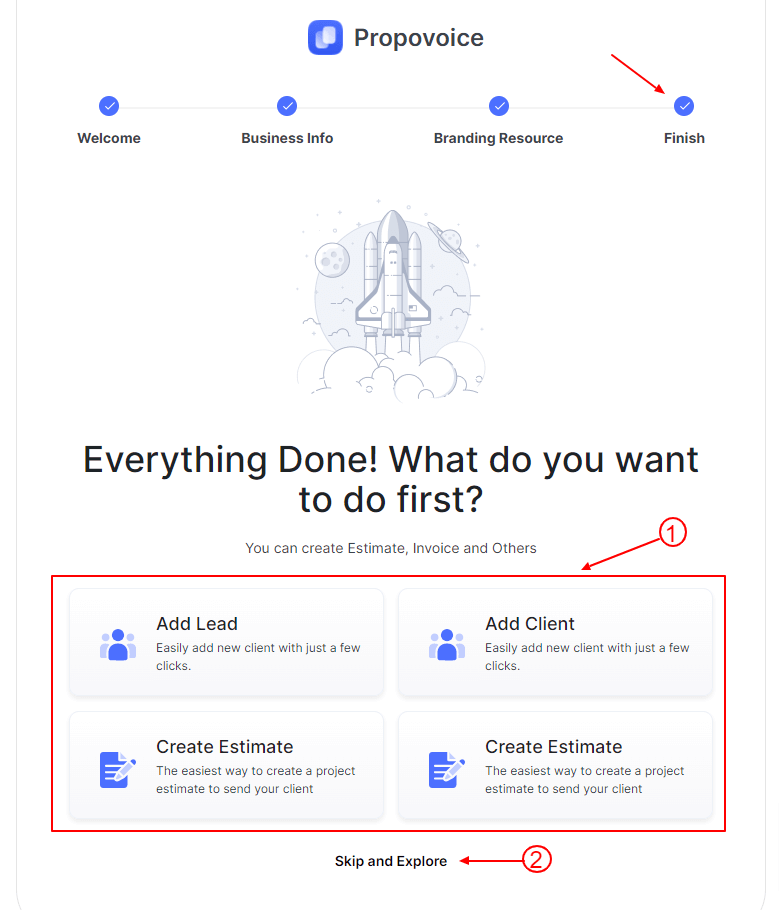
Then it will move to the Finish tab.
- After completing all steps, you can go directly to the Dashboard, Client, or Invoice section.

